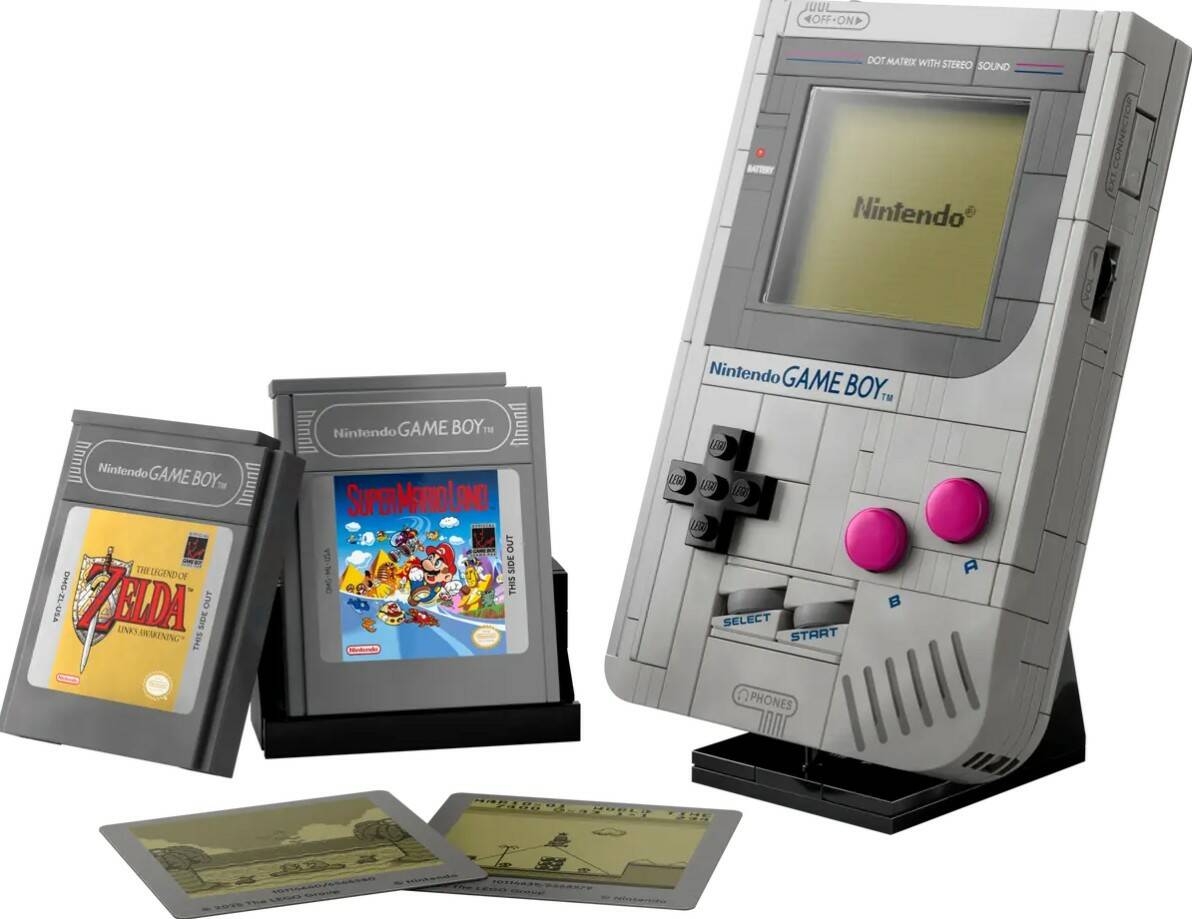
"It helps that LEGO's interpretation is relatively faithful to Nintendo's original, hence the screen and cartridge slot are both in the correct place and of roughly the correct dimensions. The build process is documented on Natalie's blog, and it's an impressive example of creativity in a confined space - this isn't a simple case of ripping the guts out of a sacrificial Game Boy or shoehorning in a Pi and a suitable screen."
"In this instance, Natalie came up with a custom design and a suitably sized screen to fit into the limited space available (barely more than that needed for a game cartridge). Power comes from a USB-C connector in a custom 3D-printed brick, and the power switch is a soft-latching power button. No, there's no bank of AA batteries to die at the worst possible moment, but such concessions to modernity are easily forgiven."
"The project is not quite finished. There's no sound, and not all the controls are there yet. Natalie wrote: "I didn't really know what the buttons on the Lego would be like, but the fact that they could be pressed was enough for me to know I could implement them. At the moment I have them wired up to custom 3D-printed *toy brick* parts.""
An enthusiast fitted authentic Game Boy hardware into LEGO's new Game Boy model, preserving correct screen and cartridge placement and enabling cartridge functionality. The maker designed a custom, suitably sized screen and crafted a custom 3D-printed brick containing a USB-C connector for power, with a soft-latching power button. The build focused on compactness rather than transplanting an existing Game Boy or using a Raspberry Pi setup. The project currently lacks sound and full controls; many buttons are wired to custom 3D-printed toy-brick parts. Documentation and a demonstration video showing Tetris running are available on the maker's blog.
Read at Theregister
Unable to calculate read time
Collection
[
|
...
]